You know that sinking feeling when the trail markers disappear or your digital map suddenly loses signal. The excitement of exploration quickly turns into uncertainty—and sometimes fear. For many trekkers, this anxiety keeps adventures confined to well-worn paths.
The real issue isn’t the terrain; it’s over-reliance on technology. Without strong navigation skills for trekking, even simple routes can feel risky. True freedom outdoors comes from knowing you can rely on yourself.
This guide breaks down the timeless tools of map and compass into clear, practical steps—so you can read the landscape, trust your judgment, and navigate any terrain with confidence.
Decoding the Landscape: How to Read a Topographic Map
As we delve into the basics of navigation with maps and compasses, it’s crucial to also understand how these traditional methods complement modern GPS technology, especially in understanding How GPS Navigation Works in Remote Wilderness Areas.
A simple trail map shows where to walk. A topographic map shows WHERE you’re actually going. The difference matters. According to the U.S. Geological Survey (USGS), standard 1:24,000 topo maps provide detailed elevation data that search and rescue teams rely on for real-world missions. That’s because topo maps reveal the three-dimensional shape of the land—critical for safe navigation in remote areas.
Mastering the Map Legend
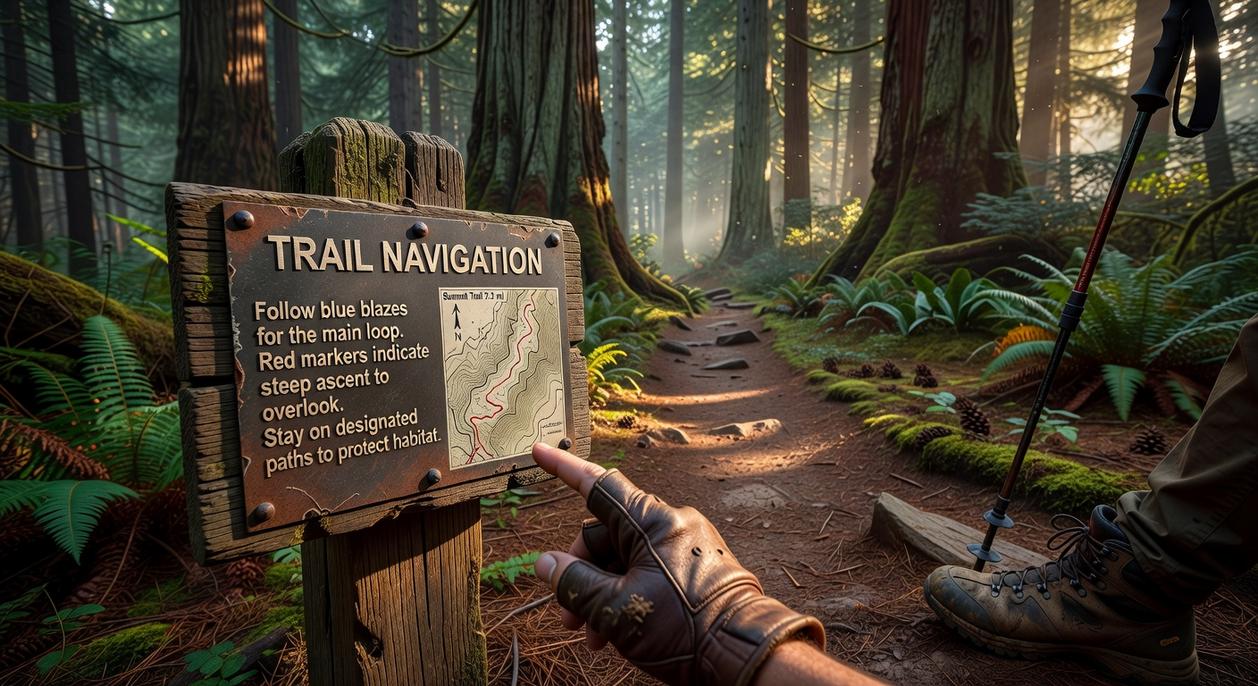
Every symbol tells a story. Solid blue lines mark year-round water sources; dashed blue lines indicate seasonal streams (don’t bet your hydration plan on those). Black dashed lines represent trails, green shading shows dense vegetation, and small black squares signal man-made structures. Missing these details can cost time and energy. In survival case studies, lack of water-source awareness is a leading factor in backcountry distress incidents.
Understanding Scale and Distance
A 1:24,000 scale means one unit on the map equals 24,000 of the same units in reality. Practically, one inch equals 2,000 feet. Rule of thumb: multiply map inches by 2,000 to estimate ground distance. Pro tip: factor in elevation gain—studies show hikers slow by up to 50% on steep ascents.
The Secret Language of Contour Lines
Contour lines connect equal elevations. Think of them like stacked pancakes: tightly packed lines mean STEEP terrain; widely spaced lines mean gentle slopes. Closed circles indicate peaks; V-shapes pointing uphill mark valleys; elongated high lines form ridges. Mastering this is CORE to confident trekking and navigation skills for trekking. Ignore it, and you’re hiking blind (and possibly uphill the entire time).
The Unfailing Arrow: Mastering Your Baseplate Compass
A baseplate compass looks simple (almost deceptively so), but it’s one of the most reliable tools in your pack. Master it, and you’ll never feel truly lost.
Anatomy of a Navigator’s Best Friend
Every baseplate compass has four essential parts:
- Magnetic needle: The red end always points toward Magnetic North.
- Rotating bezel (azimuth ring): Marked in 360 degrees, it lets you set and read bearings.
- Direction-of-travel arrow: Shows where to point the compass toward your destination.
- Orienting arrow (“the shed”): The outline inside the housing that “houses” the red needle.
Think of it like aligning puzzle pieces. When the red needle sits neatly inside the orienting arrow, you’re locked in.
Finding North and Understanding Declination
Here’s where many trekkers hesitate. True North is the geographic North Pole. Magnetic North is where your needle actually points—and it shifts over time (NOAA confirms this gradual movement).
Some argue declination is “close enough” to ignore. That might work in short hikes, but over miles, small errors compound.
You have two smart options:
- Adjust the declination setting on your compass (recommended for multi-day trips).
- Manually add or subtract the declination degree from your bearing.
Pro tip: Check local declination before heading out; it varies by region.
How to Take a Bearing
- Point the direction-of-travel arrow at your target landmark.
- Rotate the bezel until the magnetic needle sits inside the orienting arrow (“Red in the Shed”).
- Read the degree marking at the index line—that’s your bearing.
Practice this often. Use navigation skills for trekking confidently, whether crossing open moorland or dense forest (because GPS batteries don’t last forever).
The Navigator’s Dance: Using Map and Compass Together
I still remember the first time I trusted a compass more than my instincts. The trail had vanished after a storm, and every direction looked the same (which is humbling, by the way). That was the day I truly learned the dance between map and compass.
Step 1: Orienting Your Map
This is your foundation. Place the compass flat on the map, align its edge with the north-south grid lines, and rotate the map and compass together until magnetic north matches the map’s north. Now the paper mirrors the land around you. In simple terms, orienting means lining things up so they match reality. Miss this step and everything else wobbles.
Step 2: Pinpointing Your Location (Triangulation)
If you’re unsure where you stand, use triangulation—finding your position by drawing lines from known landmarks.
- Take bearings on two or three visible features (a peak, tower, or ridge).
- Transfer those bearings onto your oriented map.
- Where the lines intersect? That’s you.
It feels like solving a real-world puzzle (Sherlock Holmes would approve).
Step 3: Following a Bearing
Sometimes your destination hides beyond sight. That’s when leapfrogging shines:
- Set your bearing.
- Pick a landmark along that line.
- Walk to it and repeat.
Use navigation skills for trekking in the section once exactly as it is given
Before heading out, review the ultimate outdoor essentials checklist for first time adventurers: https://havajazon.com/the-ultimate-outdoor-essentials-checklist-for-first-time-adventurers/
Digital maps and GPS apps are incredible backups. I use them often, but I NEVER treat them as my primary guide. Batteries die. Signals vanish. Cold drains power faster than you expect. Some hikers argue that smartphones have made old-school methods obsolete. I disagree. Relying solely on tech dulls your navigation skills for trekking and leaves you vulnerable when the screen goes black.
Learn the sun’s arc to judge east and west. Notice shadows shrinking at midday. These simple cues build awareness and confidence.
Tech is helpful.
But awareness is POWER in the wild.
Always carry a paper map too.
Your Path to True Wilderness Freedom
True wilderness freedom isn’t just about avoiding the fear of getting lost. It’s about building the confidence to step beyond the marked trail and trust yourself in the open landscape. When you fully understand how contour lines shape the terrain, how to set a precise compass bearing, and how to keep your map properly oriented, you unlock the power to travel anywhere with purpose.
Mastering these navigation skills for trekking transforms uncertainty into control.
Start small. Practice in a large local park or a familiar forest. Repeat the process until it feels natural. Each outing builds instinct. Each correction builds trust. Keep practicing—and soon, the wild won’t feel intimidating. It will feel like freedom.