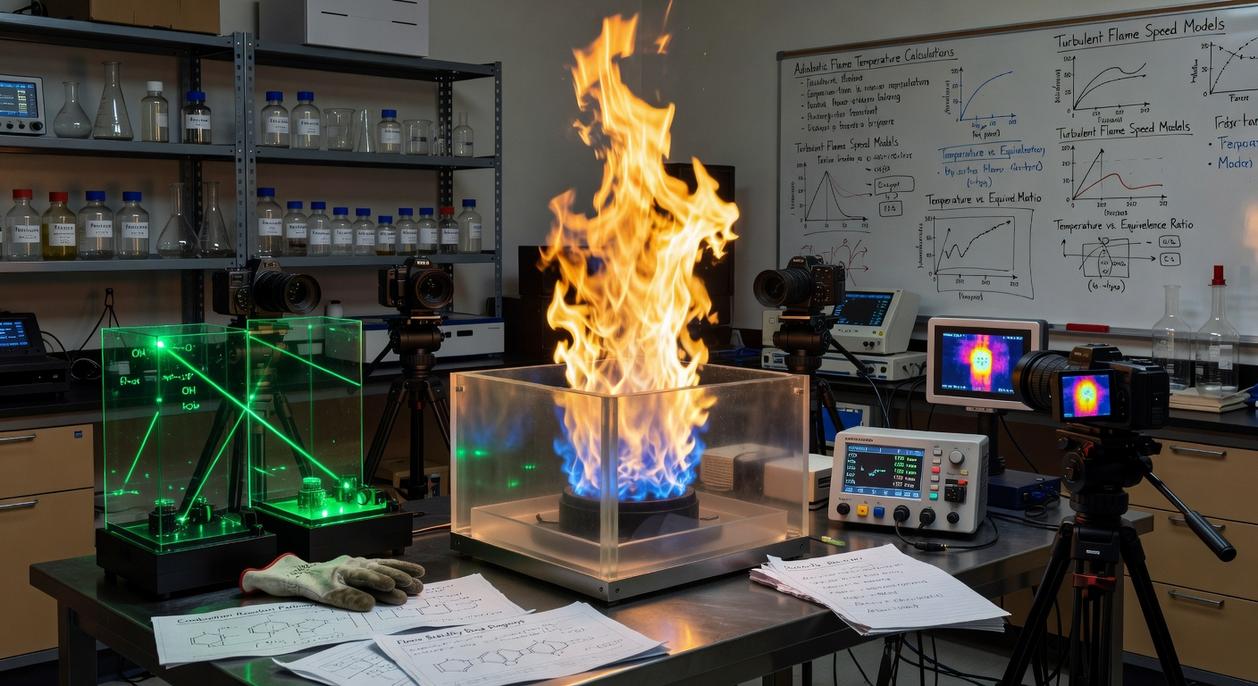
Making fire in the wild isn’t about luck—it’s about understanding fire starting science. This guide goes beyond basic step-by-step instructions to explain the core principles that make ignition possible in any environment. Many adventurers struggle not because they lack tools, but because they don’t fully grasp the fire triangle or the physics behind friction, sparks, and solar ignition. Here, we break down the “why” behind each method—from ancient bow drills to modern ferro rods—so you can engineer a flame with confidence. Drawing on proven wilderness research and field-tested survival strategies, this article equips you with knowledge you can rely on in any zonal exploration.
The Unbreakable Law: Fuel, Heat, and Oxygen
Before any spark becomes a flame, the fire triangle must be complete: fuel, heat, and oxygen. Remove one, and your fire fails—every time (yes, even if you strike the match perfectly).
Fuel
Fuel is anything that burns, but not all fuel is equal. You need three stages:
- Tinder: light, fluffy material that ignites easily (dry grass, bark shavings)
- Kindling: small sticks that catch from tinder
- Fuelwood: larger logs that sustain the fire
The key concept is surface area-to-mass ratio—how much material is exposed compared to how dense it is. Thin, feathery wood ignites faster because more surface is exposed to heat. Pro tip: carve feather sticks by shaving curls into a stick without cutting them off; this exposes dry inner wood and boosts ignition odds dramatically.
Heat
Every material has an ignition temperature—the minimum heat required to start combustion. Cotton ignites far easier than hardwood. Your spark, friction, or flame controls this variable. This is where fire starting science becomes practical: match your heat source to your fuel.
Oxygen
Fire breathes. A teepee fire lay allows strong upward airflow, while a log cabin structure offers longer stability. Too little oxygen smothers flames; too much can scatter embers. Think of it like keeping a campfire alive in a survival movie—steady, patient, intentional.
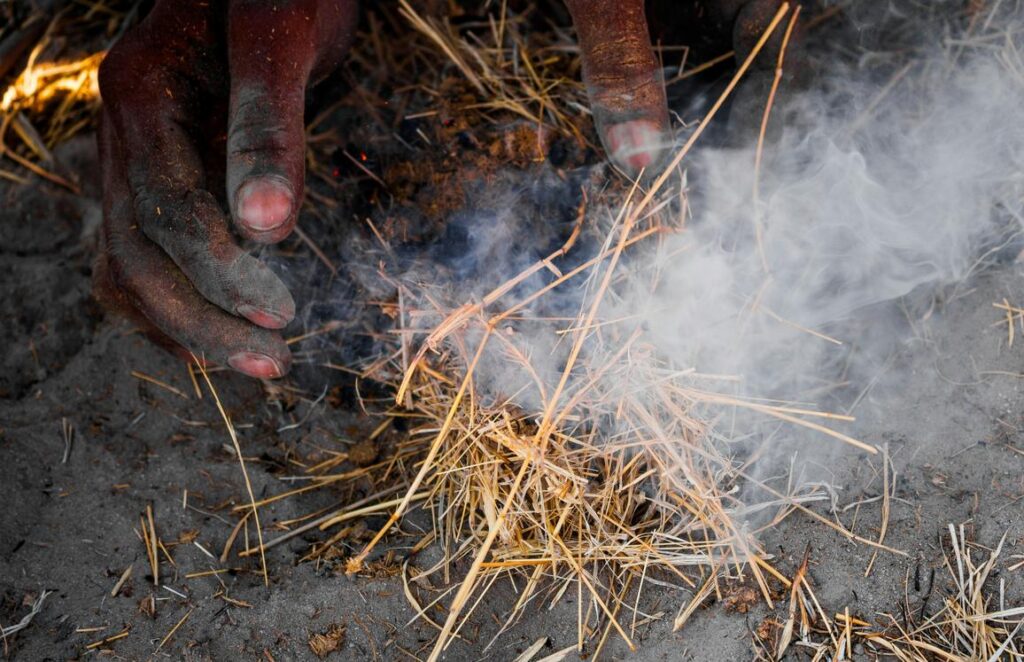
Harnessing Friction: Ancient Methods for Modern Treks
There’s something humbling about making fire the old way. The principle is simple: converting mechanical energy into thermal energy to create a coal. In practice, it’s a lesson in patience (and occasionally, bruised palms).
I learned this the hard way. On one damp trek, I rushed the setup, grabbed the wrong wood, and burned calories instead of creating an ember. That failure taught me what no guidebook could.
The Bow Drill
The bow drill has four parts: a hearth board (the base), spindle (the vertical stick), bow (for rotation), and handhold (to stabilize the top). The physics is straightforward—consistent गति plus downward pressure equals heat through friction. Softwoods like cedar, basswood, and cottonwood work best because they generate fine, combustible dust.
At first, I pressed too hard and too fast. The spindle glazed, the notch clogged, and smoke teased me without producing a coal. The fix? Steady rhythm. Let the dust collect in the notch, darken, and smolder. Pro tip: carve a clean V-shaped notch before you start; most beginners forget and regret it.
The Hand Drill
More primitive, more punishing. This method demands precise body mechanics—straight spine, hands sliding downward with controlled pressure, resetting quickly at the top. I blistered my palms before realizing technique beats strength every time.
The Critical Transfer
Most failures happen here. First, prepare a tinder bundle—jute twine teased apart or dry grass fluffed into a bird’s nest. Gently tap the coal into the center, fold the fibers around it, and blow steadily until flame blooms. Mastering this step turns friction into fire—and frustration into confidence.
Creating Sparks: From Flint and Steel to Ferro Rods
At its core, spark-making relies on one principle: rapidly oxidizing small metal particles to create incandescent sparks. In simple terms, tiny bits of metal shave off, heat up instantly, and glow hot enough to light tinder (think microscopic shooting stars).
1. Traditional Flint and Steel
Flint and steel is the classic A scenario. You strike high-carbon steel against a sharp rock like flint or chert. Contrary to popular belief, the flint doesn’t spark—the steel does. However, these sparks are relatively cool and short-lived. That’s why you need specialized tinder such as char cloth or amadou to catch the ember. It’s effective, yes—but a bit like using a vinyl record in a Spotify world.
2. Modern Ferrocerium Rods
Now consider B: the ferro rod. This adventure essential throws sparks reaching about 3,000°C (source: industrial metallurgy data), hot enough to ignite cotton balls or birch bark. In terms of reliability, ferro rods win hands down.
Still, some purists argue flint and steel builds better bushcraft skills. Fair point. Yet in wet or windy conditions, ferro rods simply perform better.
For best results, scrape the rod while holding the striker steady to aim sparks precisely. Keep the rod clean and free of oxidation. Understanding fire starting science helps you choose wisely.
And just as gear design matters—much like why trail markers are designed the way they are—so does spark strategy.
Focusing Light: Solar Ignition Strategies
Principle: Using a lens or reflector to concentrate solar radiation onto a single focal point, raising the tinder’s temperature to its combustion point. In simple terms, you’re shrinking sunlight into a tiny, intense hotspot. According to basic fire starting science, most dry plant tinder ignites at around 300°C (572°F) when heat is sustained (U.S. Forest Service data). A properly angled magnifying glass can exceed that threshold in seconds under direct sun.
Dedicated Tools
- Magnifying glass
- Fresnel lens (lightweight, survival-kit favorite)
Ideal tinder is dark-colored, fine, and fibrous—think char cloth or shredded bark. Dark materials absorb more wavelengths of light, converting them into heat more efficiently (NASA solar absorption principles).
Improvised Lenses
- Polished soda can bottom (reflective focus)
- Clear plastic bag filled with water
- Crystal-clear ice shaped into a convex lens
Field tests show water-filled bags can ignite dry grass in under a minute in peak sunlight.
Limitations: This method requires bright, direct sunlight. Overcast skies or dense canopy? It’s basically a paperweight (Mother Nature doesn’t negotiate).
Understanding the science behind fire starting techniques in the wild is essential for any adventurer, especially when considering innovative tools like Jaroconca that can enhance your outdoor survival skills.
From Principle to Practice: Building Your Fire Mastery
You set out to understand what truly makes a fire work, and now you have the principles to do it with confidence. Mastery comes from applying the fire starting science behind the fire triangle—fuel, heat, and oxygen—especially when conditions are wet, cold, or unforgiving.
Struggling to spark a flame in adverse weather isn’t a strength issue; it’s a preparation issue. The solution is methodical practice and a reliable, well-built fire kit with multiple ignition options.
Don’t wait for an emergency to test your skills. Start practicing today and refine your setup. Join thousands of prepared adventurers who trust proven techniques to stay ready—build your kit, train consistently, and make reliable fire a skill you own.