I’ve trekked to the Havajazon waterfalls more times than I can count, and I still find spots most visitors never see.
You’re probably planning your trip right now and wondering if the main cascade is all there is. It’s not. Most people snap their photos at the first waterfall and head back, missing the reserve’s best parts.
Here’s the thing: the terrain is tougher than it looks in those Instagram posts. And the trail maps? They leave out half the good stuff.
I’ve spent years exploring every corner of this reserve. I know which paths lead to hidden cascades and which ones waste your time. I’ve learned what gear actually matters and what just weighs you down.
This guide gives you a real trekking strategy for the Havajazon waterfalls. Not the sanitized version you find on tourist sites.
You’ll get the step-by-step route that covers both the main attractions and the hidden gems. I’ll tell you exactly what to pack and what to leave behind.
I’ll also show you how to stay safe on terrain that catches unprepared hikers off guard.
No fluff about the “magical experience” waiting for you. Just the practical information you need to see the reserve the way it’s meant to be seen.
Essential Gear and Preparation for the Havajazon Trek
You can hear the Havajazon waterfall before you see it.
That deep rumble that vibrates through your chest. The mist that hits your face a quarter mile out.
But getting there? That’s where most people mess up.
I’ve watched hikers slip on moss-covered rocks because they wore trail runners instead of proper boots. Seen them panic when their phone dies and they realize they have no backup navigation.
Some folks say you don’t need all that gear. They’ll tell you to pack light and just wing it. That the reserve isn’t that serious.
Here’s what they’re not telling you.
The terrain near the falls is slick. Like walking on wet glass slick. Your boots need deep lugs that can grip into mud and grab onto uneven stone. Waterproof isn’t optional when you’re crossing streams that’ll soak through regular leather in minutes.
And yeah, your GPS works great. Until you drop into one of those deep canyons where the signal just vanishes.
That’s when you’ll want that physical map in your pack. The one that doesn’t need batteries or cell towers.
I always carry what I call the big three. A first-aid kit that’s actually stocked (not just band-aids). A water purification system because that crystal-clear stream water can make you sick for days. And an emergency communication device for when things go sideways.
Before you even think about hitting the trail, check the official nature reserve website. Permits change. Trails close. Showing up without doing your homework means you drove all that way for nothing.
The reserve doesn’t care if you’re unprepared. It’ll let you find out the hard way.
The Main Trail: A Step-by-Step Guide to the ‘Azure Cascade’
I’ll never forget the first time I tried to find Azure Cascade.
I had a hand-drawn map from a ranger station and what I thought were pretty clear directions. Turns out, I spent two hours wandering in circles before I finally heard the faint rush of water through the trees.
That’s the thing about this trail. It’s not hard. But if you don’t know what to look for, you can waste half your day second-guessing every turn.
Let me save you that headache.
Finding the Trailhead
The parking area sits about three miles past the main ranger station. You’ll see a weathered wooden sign that says “Azure Trail” and a small gravel lot that fits maybe eight cars.
The first mile cuts through thick forest. I mean thick. The canopy blocks most of the sunlight, so even on bright days it feels like early evening in there.
You’ll cross a small creek about fifteen minutes in. That’s your first confirmation you’re going the right way.
Some people say you should just follow any trail and you’ll eventually find the havajazon waterfall. But I’ve seen too many folks end up on the wrong ridge to buy that advice.
Watch for These Markers
About a mile and a half in, you’ll spot the Leaning Sycamore. It’s exactly what it sounds like. A massive sycamore tree bent at a weird angle over the trail.
When you see it, bear left at the fork just beyond it.
Half a mile later, you’ll hit the Granite Shelf. It’s a flat rock outcropping where most people stop to catch their breath (I always do). The trail gets steeper from here.
The Climb
The switchbacks start right after the shelf.
I won’t lie to you. This part sucks if you’re not ready for it. The trail gains about 400 feet over the next mile, and on humid days it feels twice as long.
Here’s what works for me. I count to 100 steps, then pause for 30 seconds. It keeps my breathing steady and stops me from burning out halfway up.
Bring more water than you think you need.
The Final Approach
You’ll hear the waterfall before you see it.
That last quarter mile, the sound builds from a whisper to a roar. The trees start to thin out and suddenly you’re standing at the main viewing area.
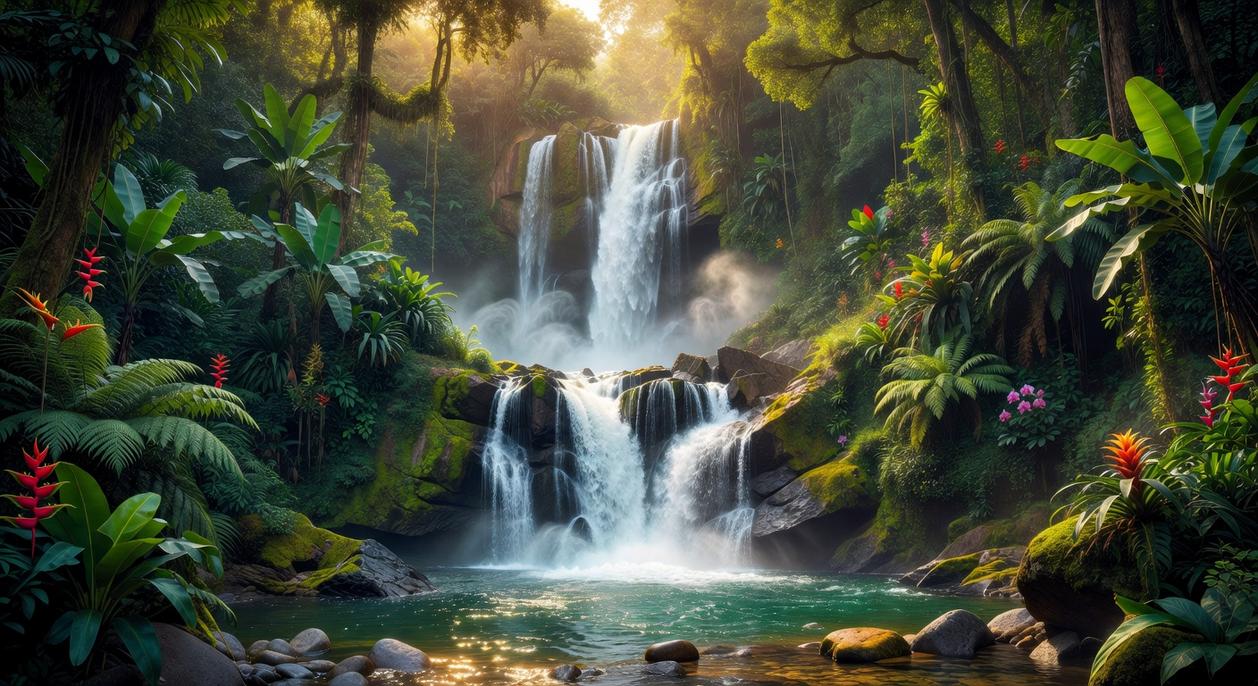
Azure Cascade drops 80 feet into a pool so clear you can see straight to the bottom. On sunny mornings, the mist catches the light and yeah, it really does look blue.
Worth every step of those switchbacks.
Pro tip: Get there before 10 AM if you want the place to yourself. After that, it gets crowded fast.
For more trail guides and gear tips, check out havajazon.
Beyond the Beaten Path: Finding the Secluded ‘Whisper Falls’
Okay, so you’ve conquered the main trail to where is Havajazon waterfall and you’re thinking, “Is that it?”
Not even close.
About two miles in, there’s a fork that most people walk right past. I’m talking about the kind of turn that looks like a deer made it after a particularly confusing night out.
This is not your average Sunday stroll.
You need to know what you’re doing out here. If your idea of navigation is following the person in front of you, this isn’t your route. We’re talking real backcountry skills.
The unmarked path veers left where most hikers don’t even glance. There’s usually a cluster of moss-covered rocks and what might be a faint scuff mark if you squint hard enough (or if you’re really good at seeing things that aren’t there).
But if you follow it?
You’ll hit Whisper Falls. And trust me, the name fits. While the main havajazon waterfall roars like it’s got something to prove, this one just… exists. Peaceful. Multi-tiered. The kind of place that makes you forget your phone exists.
The plunge pool at the base is crystal clear. Cold enough to make you question your life choices if you jump in.
Here’s the part where I have to be serious for a second.
This route isn’t marked because it’s not maintained. You might cross streams. You might lose the trail completely. You might end up having a very long conversation with yourself about why you thought this was a good idea.
Bring a GPS. Bring a map. Bring someone who knows what they’re doing if you don’t. I cover this topic extensively in How Havajazon Formed.
Worth it? Absolutely.
Safe for beginners? Not a chance.
Capturing the Moment: Photography and Responsible Exploration
The best waterfall photos happen when most people are still asleep.
I’m talking about those early morning hours when the light hits the havajazon waterfall just right. The mist glows. The shadows soften. Everything looks like it belongs in a gallery.
Golden hour isn’t just photographer talk. It’s real. Shoot between 6 and 8 AM or about an hour before sunset. You’ll skip the harsh overhead light that washes out your shots and creates weird shadows on the rocks.
Here’s what nobody tells you about waterfall photography though.
Your gear is going to get wet. REALLY wet.
I keep my camera in a waterproof bag between shots. Lens cloth stays in a sealed pocket because a wet cloth is useless. Some people use rain covers but honestly? A large ziplock bag with a hole cut for the lens works just fine (and costs about three dollars).
Now let’s talk about something that matters more than any photo.
Leave no trace isn’t a suggestion. It’s how we keep these places worth visiting.
Pack out your trash. All of it. That granola bar wrapper in your pocket? It comes home with you. Stay on marked trails even when you see a “better” angle off the path. The plants growing near waterfalls took years to establish and your boots can destroy them in seconds.
I’ve seen people step right up to the edge for that perfect shot. Don’t be that person.
Waterfall rocks are slippery in ways that’ll surprise you. The current underneath? It’s stronger than you think. People have died getting too close, and no photo is worth that risk.
Your safety beats your Instagram feed every single time.
Your Havajazon Adventure Awaits
You came here to find Azure Cascade and you got more than that.
Now you know about Whisper Falls too. Most hikers miss it completely because they show up unprepared or don’t know where to look.
I’ve seen too many people turn back early because they didn’t pack the right gear. Or they find Azure Cascade and think that’s it, never realizing there’s a hidden gem waiting just beyond.
This guide changes that.
When you prepare properly and follow the route I’ve laid out, you turn a basic hike into something you’ll remember for years. The havajazon waterfall system rewards those who come ready.
Pack your gear. Map your route. Double check your supplies.
The trails are waiting and now you know exactly what to do. Azure Cascade and Whisper Falls aren’t going anywhere, but the best hiking conditions won’t last forever.
Get out there and see what the wilderness has been hiding.