If you rely on trekking poles to power through steep ascents, rocky descents, and long-distance trails, you already know how critical they are to your stability and endurance. But what many hikers overlook is that performance in the wild starts with proper trekking pole maintenance long before you hit the trail.
This article is designed for outdoor enthusiasts who want clear, practical guidance on keeping their gear reliable in all conditions. We’ll walk through essential care routines, cleaning techniques after rugged treks, storage best practices, and how to spot wear before it turns into failure miles from the trailhead.
Our guidance is built on extensive field-tested outdoor strategies, hands-on gear evaluations, and proven wilderness preparation methods. The goal is simple: help you extend the life of your poles, maintain peak performance, and stay safe on every adventure.
If you want dependable gear and fewer surprises outdoors, you’re in the right place.
Your trekking poles aren’t just accessories—they’re load-bearing lifelines on steep descents and rocky traverses. If you want them to last, commit to trekking pole maintenance as a routine, not a rescue plan. After every hike, rinse off grit, dry thoroughly, and extend sections to air out. Inspect locks for slippage, tighten hardware, and replace worn tips before they fail (yes, before). Store poles collapsed loosely in a cool, dry space. Pro tip: carry a small field cloth for mid-hike wipe-downs. Treat your poles well, and they’ll return the favor when the trail turns brutal. Consistency prevents costly backcountry surprises altogether.
The Crucial Post-Hike Cleaning Routine
Just as proper maintenance can significantly extend the lifespan of your trekking poles and accessories, following the tips outlined in our *Backpack Care Guide: Extending the Life of Your Travel Gear* will help you keep your entire outdoor kit in top shape for years to come.
If you only adopt one habit for your poles, make it this: clean them after every hike. Dirt, sand, and moisture don’t look dramatic in the moment, but over time they grind down metal, clog locks, and invite corrosion (think of it as slow-motion sabotage). Consistent trekking pole maintenance is what separates gear that lasts five years from gear that fails mid-trail.
Step 1: Fully Disassemble
Separate every shaft section. Yes, every time. Skipping this step traps moisture inside, where rust loves to form.
Step 2: Wipe Down the Shafts
Use a damp cloth to clean both the exterior and interior. For stubborn grit inside, run a bottle brush through the tube. Pro tip: rinse the brush frequently so you’re not just redistributing mud.
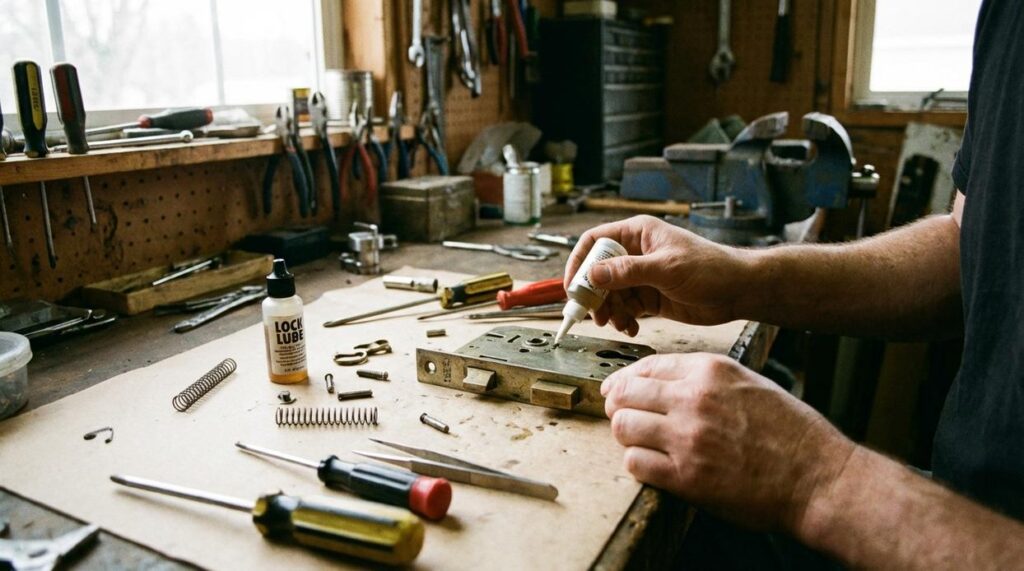
Step 3: Clean the Locking Mechanisms
Use a dry, soft brush—an old toothbrush works perfectly—to clear debris from flick-locks or twist-lock threads. Even fine dust can weaken grip strength over time.
Step 4: Dry Everything Completely
Lay components on a towel and air dry for several hours or overnight. Never reassemble damp poles. (Water left inside is basically a sequel nobody asked for—like an unnecessary reboot.)
Do this routinely, and your poles will feel reliable on every climb.
Mastering Your Locking Mechanisms: Inspection and Adjustment
A slipping pole is a dangerous pole. When your trekking pole collapses mid-descent, it’s not just annoying—it can send you stumbling downhill (and gravity is undefeated). That’s why understanding your specific locking system isn’t optional; it’s essential.
Flick-Lock (External Lever) Systems
These use a cam lever and tension screw to clamp the pole sections together. If a section slips, open the lever and turn the small screw clockwise by a quarter turn using a screwdriver. Close the lever and test it.
You’re aiming for resistance that feels firm—but not knuckle-whitening tight. If it leaves deep marks on the shaft, you’ve overtightened. Pro tip: adjust in small increments. Overcorrecting can stress the lever housing over time.
Real-world example: If your pole collapses during a rocky descent, that usually signals tension loss from vibration. A quick trailside quarter-turn often fixes it.
Twist-Lock (Internal Expander) Systems
Twist-locks rely on an internal plastic expander that widens when twisted. If it feels gritty or jams, disassemble the sections, wipe them clean, and let them dry completely. Inspect for cracks and ensure smooth expansion.
Never use oil-based lubricants like WD-40. They attract dirt and can degrade plastic components, increasing failure risk (WD-40 itself advises against use on certain plastics; see manufacturer guidelines).
Some hikers argue twist-locks are unreliable compared to flick-locks. That can be true in sandy conditions—but proper cleaning minimizes most issues.
Consistent trekking pole maintenance prevents mid-hike surprises. And while you’re maintaining gear, review how to properly clean and store hiking backpacks: https://havajazon.com/how-to-properly-clean-and-store-hiking-backpacks/.
A few minutes of inspection today beats a hard fall tomorrow.
Beyond the Shafts: Maintaining Grips, Straps, and Baskets
I learned this the hard way on a humid summer trek through the Smokies. By mile eight, my grips felt slick, my straps were stiff with dried sweat, and my poles were about as comfortable as holding two damp sponges. That was the day I realized trekking pole maintenance doesn’t stop at the shafts.
Grips are your primary contact point. Cork grips (a natural material made from tree bark) can dry out and collect grime. A light sanding with fine-grit sandpaper removes buildup and restores texture. Foam and rubber grips respond well to mild soap and water—just rinse and dry thoroughly (no one likes a mildew surprise).
Wrist Straps absorb sweat and salt, which can degrade fibers over time. Hand wash them occasionally in a sink with mild detergent. Always air dry—heat can weaken stitching. Pro tip: wash them after especially hot or rainy hikes to prevent stiffness.
Baskets—the round discs near the tips—prevent poles from sinking into mud or snow. Check for cracks after rocky trails or dense brush. They’re inexpensive and easy to replace, and swapping them early beats having your pole plunge into soft ground like a cartoon mishap.
Inspecting Tips and Preparing for Long-Term Storage
Your pole tips take the most abuse, so give them priority attention. Start with the carbide tips—the hardened metal points designed to grip rock and ice. If they look rounded or polished smooth, replace them. Worn carbide loses traction fast (and that’s how slips happen). Many brands sell affordable replacements, and I strongly recommend swapping them before they’re completely flat.
Always use rubber protectors on pavement. They reduce noise, prevent premature wear, and add grip on slick urban surfaces. Inspect them before every hike for cracks or thinning spots. If they’re loose, replace them immediately.
For long-term storage, keep poles in a dry, cool place. Disassemble them fully or disengage the locking mechanisms to release internal tension. This simple step dramatically extends their lifespan. Think of it as preventative trekking pole maintenance—small effort, BIG payoff.
Pro tip: Wipe down shafts with a dry cloth before storing to prevent corrosion and grit buildup.
A lifetime of adventures doesn’t happen by accident; it’s supported by consistent care. When we talk about a “15-minute routine,” we mean a short, structured check that prevents long-term damage. Corrosion (metal breakdown from moisture) and slipping locks (when pole sections won’t stay extended) are common results of neglect.
Think of trekking pole maintenance as brushing your teeth: small effort, big payoff. To simplify it:
• Wipe down shafts and dry
• Inspect and tighten locking mechanisms
• Store in a cool, dry place
Make this ritual non-negotiable. Protect your investment, and your poles will deliver reliable stability on trail.
Ready for Your Next Horizon Adventure?
You set out to learn how to explore smarter, trek farther, and keep your gear in peak condition. Now you have the strategies to navigate zonal wilderness with confidence, choose the right outdoor essentials, and stay ahead of common trail setbacks.
The biggest frustration for any adventurer is preventable failure — worn gear, unstable footing, or poor preparation cutting a journey short. By applying these trekking strategies and staying consistent with trekking pole maintenance, you reduce risk, extend your equipment’s lifespan, and keep every expedition focused on discovery instead of damage control.
Now it’s time to act. Review your current gear setup, inspect your poles, and fine-tune your trekking plan before your next outing. Thousands of outdoor explorers rely on our trusted horizon insights and field-tested guidance to adventure smarter and safer.
Don’t wait for gear failure to slow you down. Prepare today, maintain your equipment, and step into your next wilderness trek fully equipped and fully confident.